Most students picture phlebotomy as a hand skill and see anatomy and physiology as material to finish before the practical work begins. Yet the decisions separating a confident draw from a failed one happen before the needle moves. A phlebotomist must judge the site, depth, nearby structures, and reasons to stop.
Venipuncture may look like a straightforward procedure, but the arm does not present the same way in every patient. What makes anatomical knowledge so important when learning phlebotomy is not simply knowing clinical terms. It is understanding what lies beneath the skin well enough to make safe decisions when the expected route is unclear.
Anatomy Is the Skill, Not a Box to Tick
Needle handling is a mechanical skill that can improve quickly. Judging where to insert the needle, however, requires anatomy and physiology, and that judgement protects both patient safety and specimen quality.
Anatomy is usually the first classroom unit in a phlebotomy course because every later topic refers back to it. Tourniquet use, venipuncture, order of draw, and complication recognition all depend on understanding the circulatory system.
World Health Organisation (WHO) guidance treats the sequence from vein selection through specimen transport as a connected process in which every step affects patient safety and sample quality. A phlebotomist who understands anatomy can assess an unfamiliar arm and adapt. Someone who has memorised only one technique loses that certainty when the expected site is unavailable.
The Vein Map Every Beginner Needs to Know
The antecubital fossa, the shallow depression inside the elbow, holds veins, an artery, nerves, muscles, and tendons within a few centimetres of one another. Superficial vessels may sit just above deeper structures. Accordingly, vein selection follows a risk hierarchy rather than whichever vessel looks easiest.
Median Cubital, Cephalic and Basilic in Order
The median cubital vein is generally the first choice. It is usually well anchored, sits securely over muscle rather than an artery, and moves less when the needle touches it. Its position also helps keep the phlebotomist away from deeper structures when the anatomy follows the expected pattern.
The cephalic vein, found on the lateral or thumb side of the arm, is the usual second choice. It can provide access in older patients or heavier arms where other veins are difficult to see. However, looser surrounding tissue means it may roll more readily.
The basilic vein lies on the medial side and comes last. It is not avoided because it is inherently difficult to puncture. Instead, the brachial artery and median nerve run close beneath it, making a deep or poorly controlled medial puncture more hazardous.
What Sits Under the Skin at Every Draw Site
Medical terminology gives students precise language for both the target and the structures at risk. In the antecubital area, these include the brachial artery, median nerve, and tendons. Near the wrist, the radial nerve and radial artery provide further reasons to avoid a blind puncture.
Knowing these landmarks also helps a phlebotomist explain why a particular arm or site was chosen. A plain explanation based on vessel position can ease an anxious patient’s resistance, help keep the arm still, and support patient safety.
This knowledge is a scored domain in phlebotomy certification, not optional background reading. Because the vein hierarchy and underlying structures are tested on the NHA phlebotomy exam, the fastest way to check your recall is to head over to PhlebotomyPracticeTest.net, complete a phlebotomy practice exam cold, and identify remaining gaps.
Why Skilled Phlebotomists Trust Their Fingertips
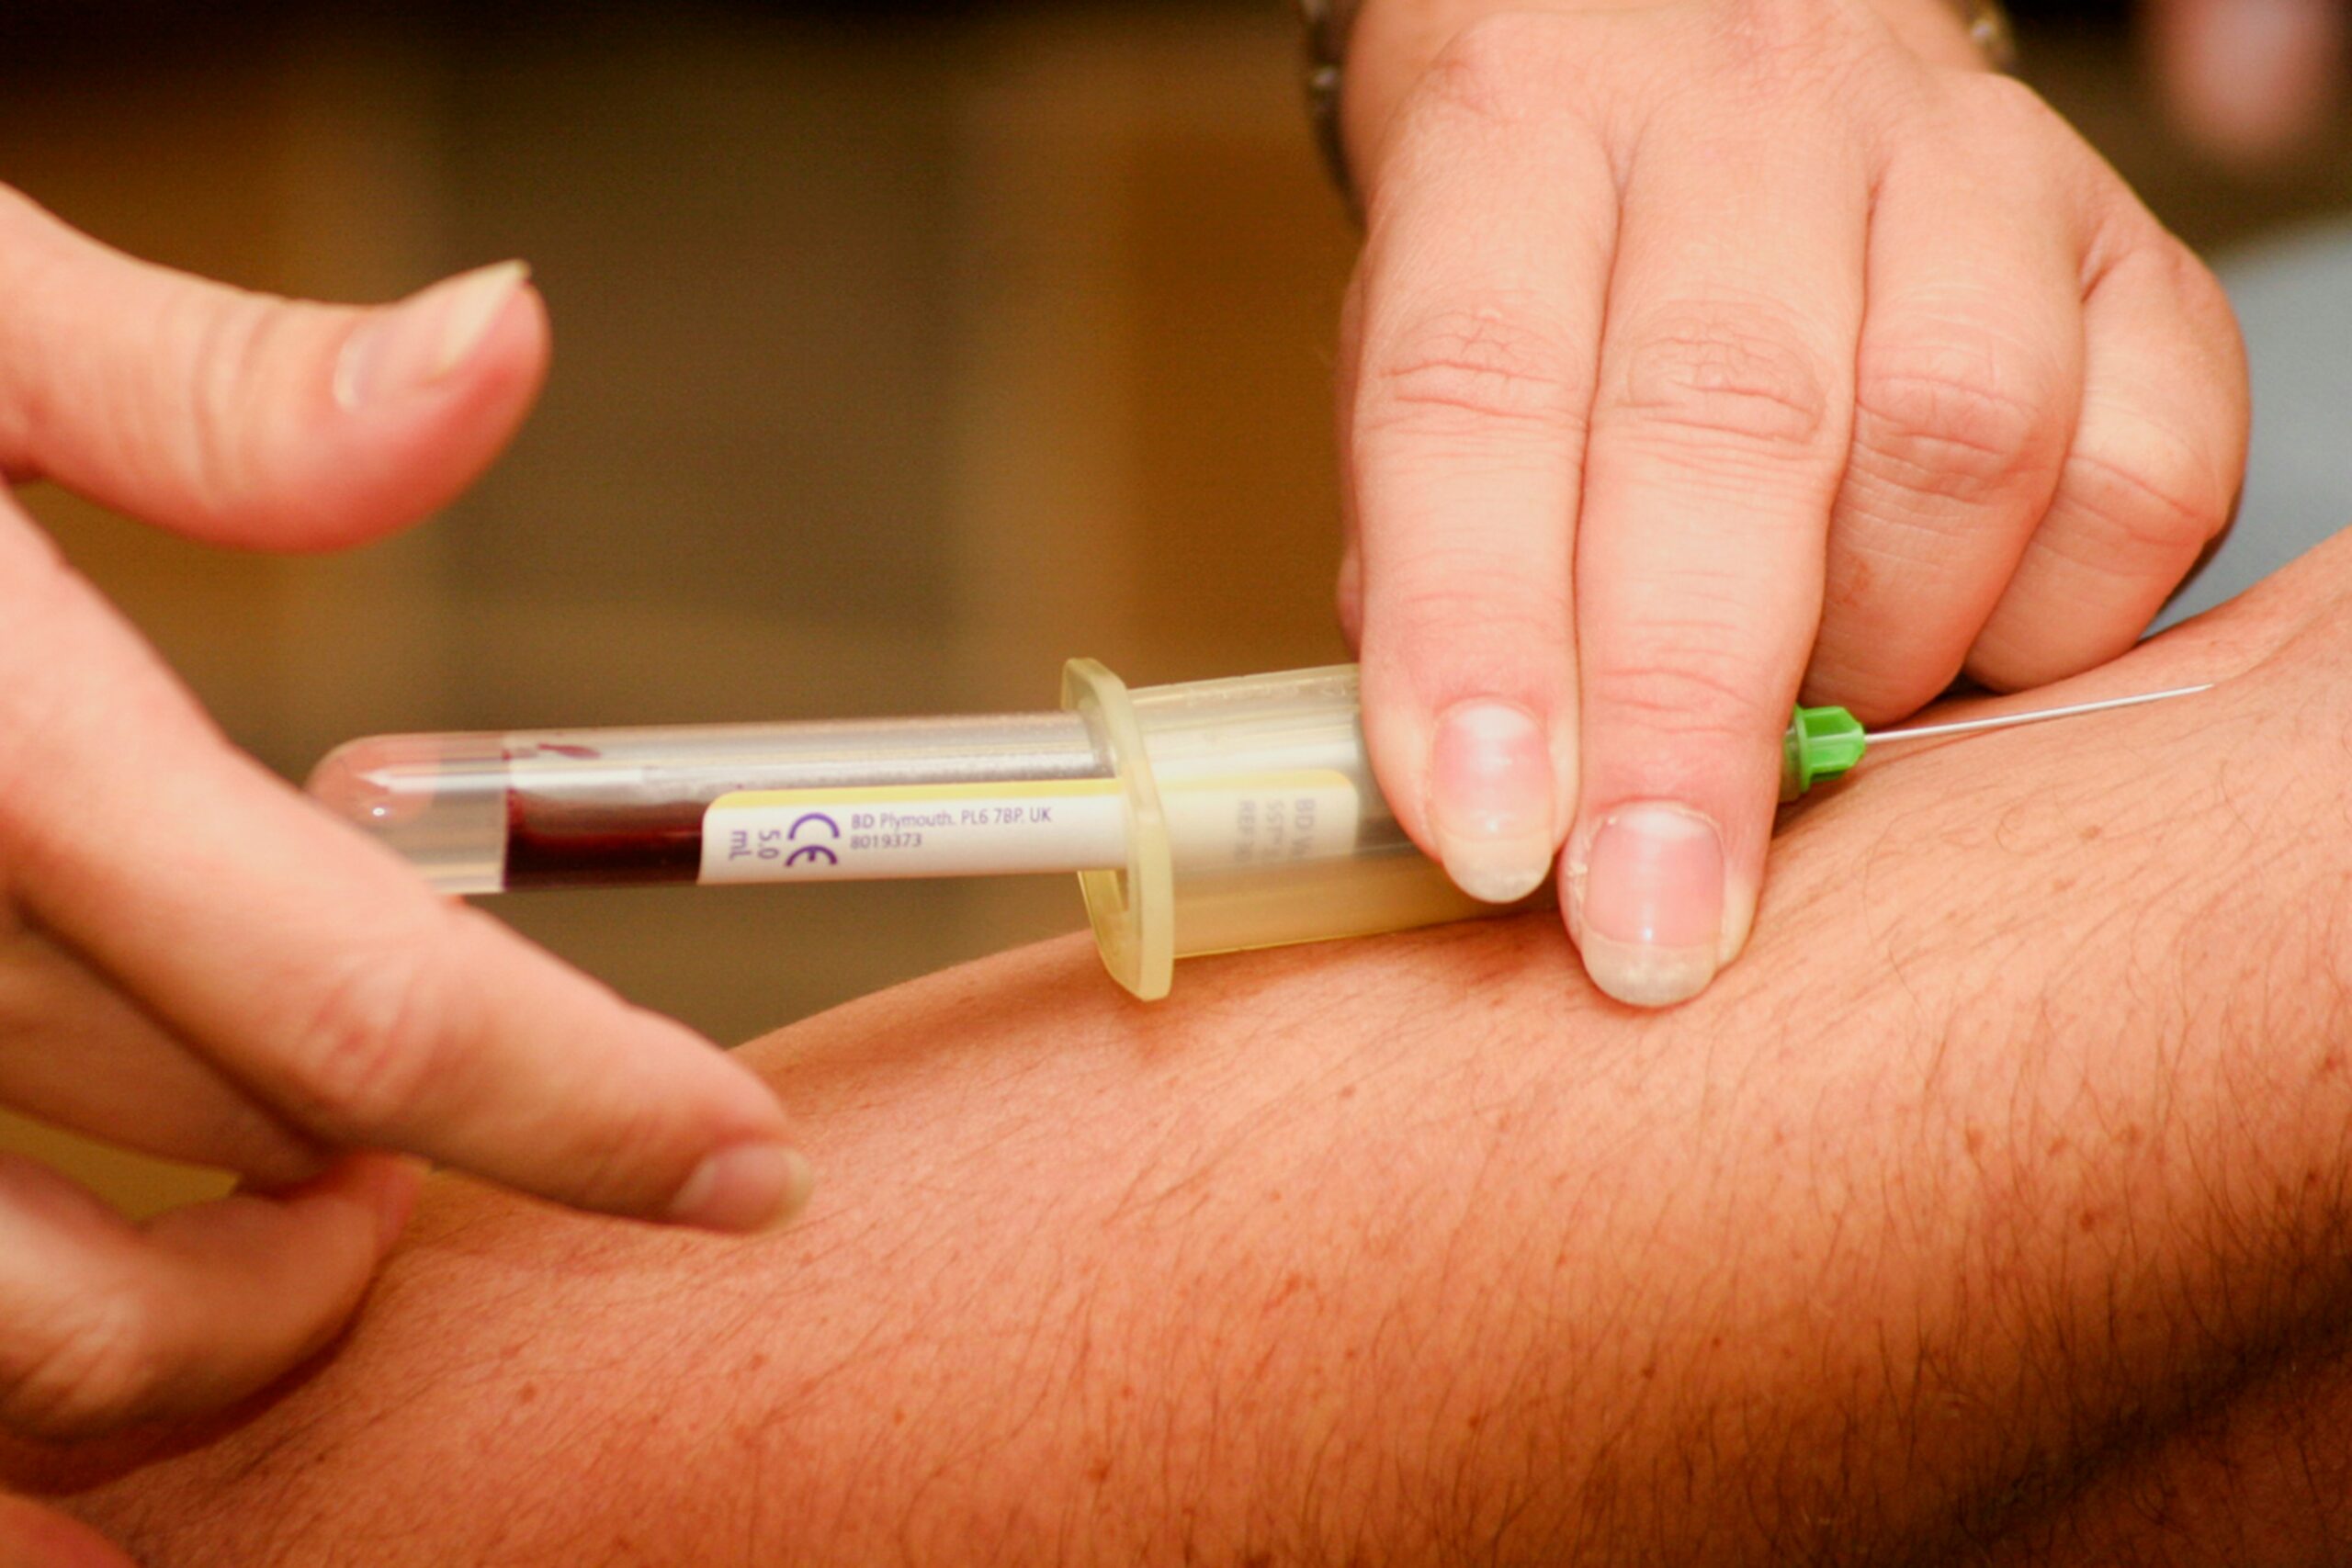
A visible vein is not necessarily viable, while a vessel hidden beneath the skin may be the best target. Sight reveals its general route but says little about depth, elasticity, or anchoring. Palpation provides that missing information, which is why difficult venous access is often the hardest part of practical phlebotomy.
What Depth, Roll and Valves Feel Like
A healthy vein typically feels springy and refills after gentle pressure. A thrombosed vessel feels like a firm cord, while a tendon remains rigid, does not rebound, and may move when the patient flexes. Any pulse beneath the fingertip signals an artery and an immediate stop.
Small, firm interruptions along a vein can indicate valves. A needle may enter cleanly yet produce little or no flow if its opening rests against one.
Rolling veins reflect loose subcutaneous tissue and weak natural anchoring rather than bad luck. Drawing the skin taut below the puncture site stabilises the vessel by limiting sideways movement during venipuncture.
When the Textbook Arm Never Shows Up
Real arms rarely reproduce a diagram exactly. Paediatric and elderly patients may have fragile or thin-walled veins, while depth can defeat visual inspection in obese arms. Oncology treatment may leave scarred access sites. Arms with dialysis fistulas, IV lines, or post-mastectomy restrictions require another plan or escalation under local policy.
Hands-on practical training connects these variations with what the fingers detect. Diagrams establish the map, but a fresh-tissue dissection experience shows how vessels, fascia, nerves, and tendons relate in three dimensions. That context makes the textbook map something the hands can predict.
Anatomy Decides the Sample, Not Just the Stick
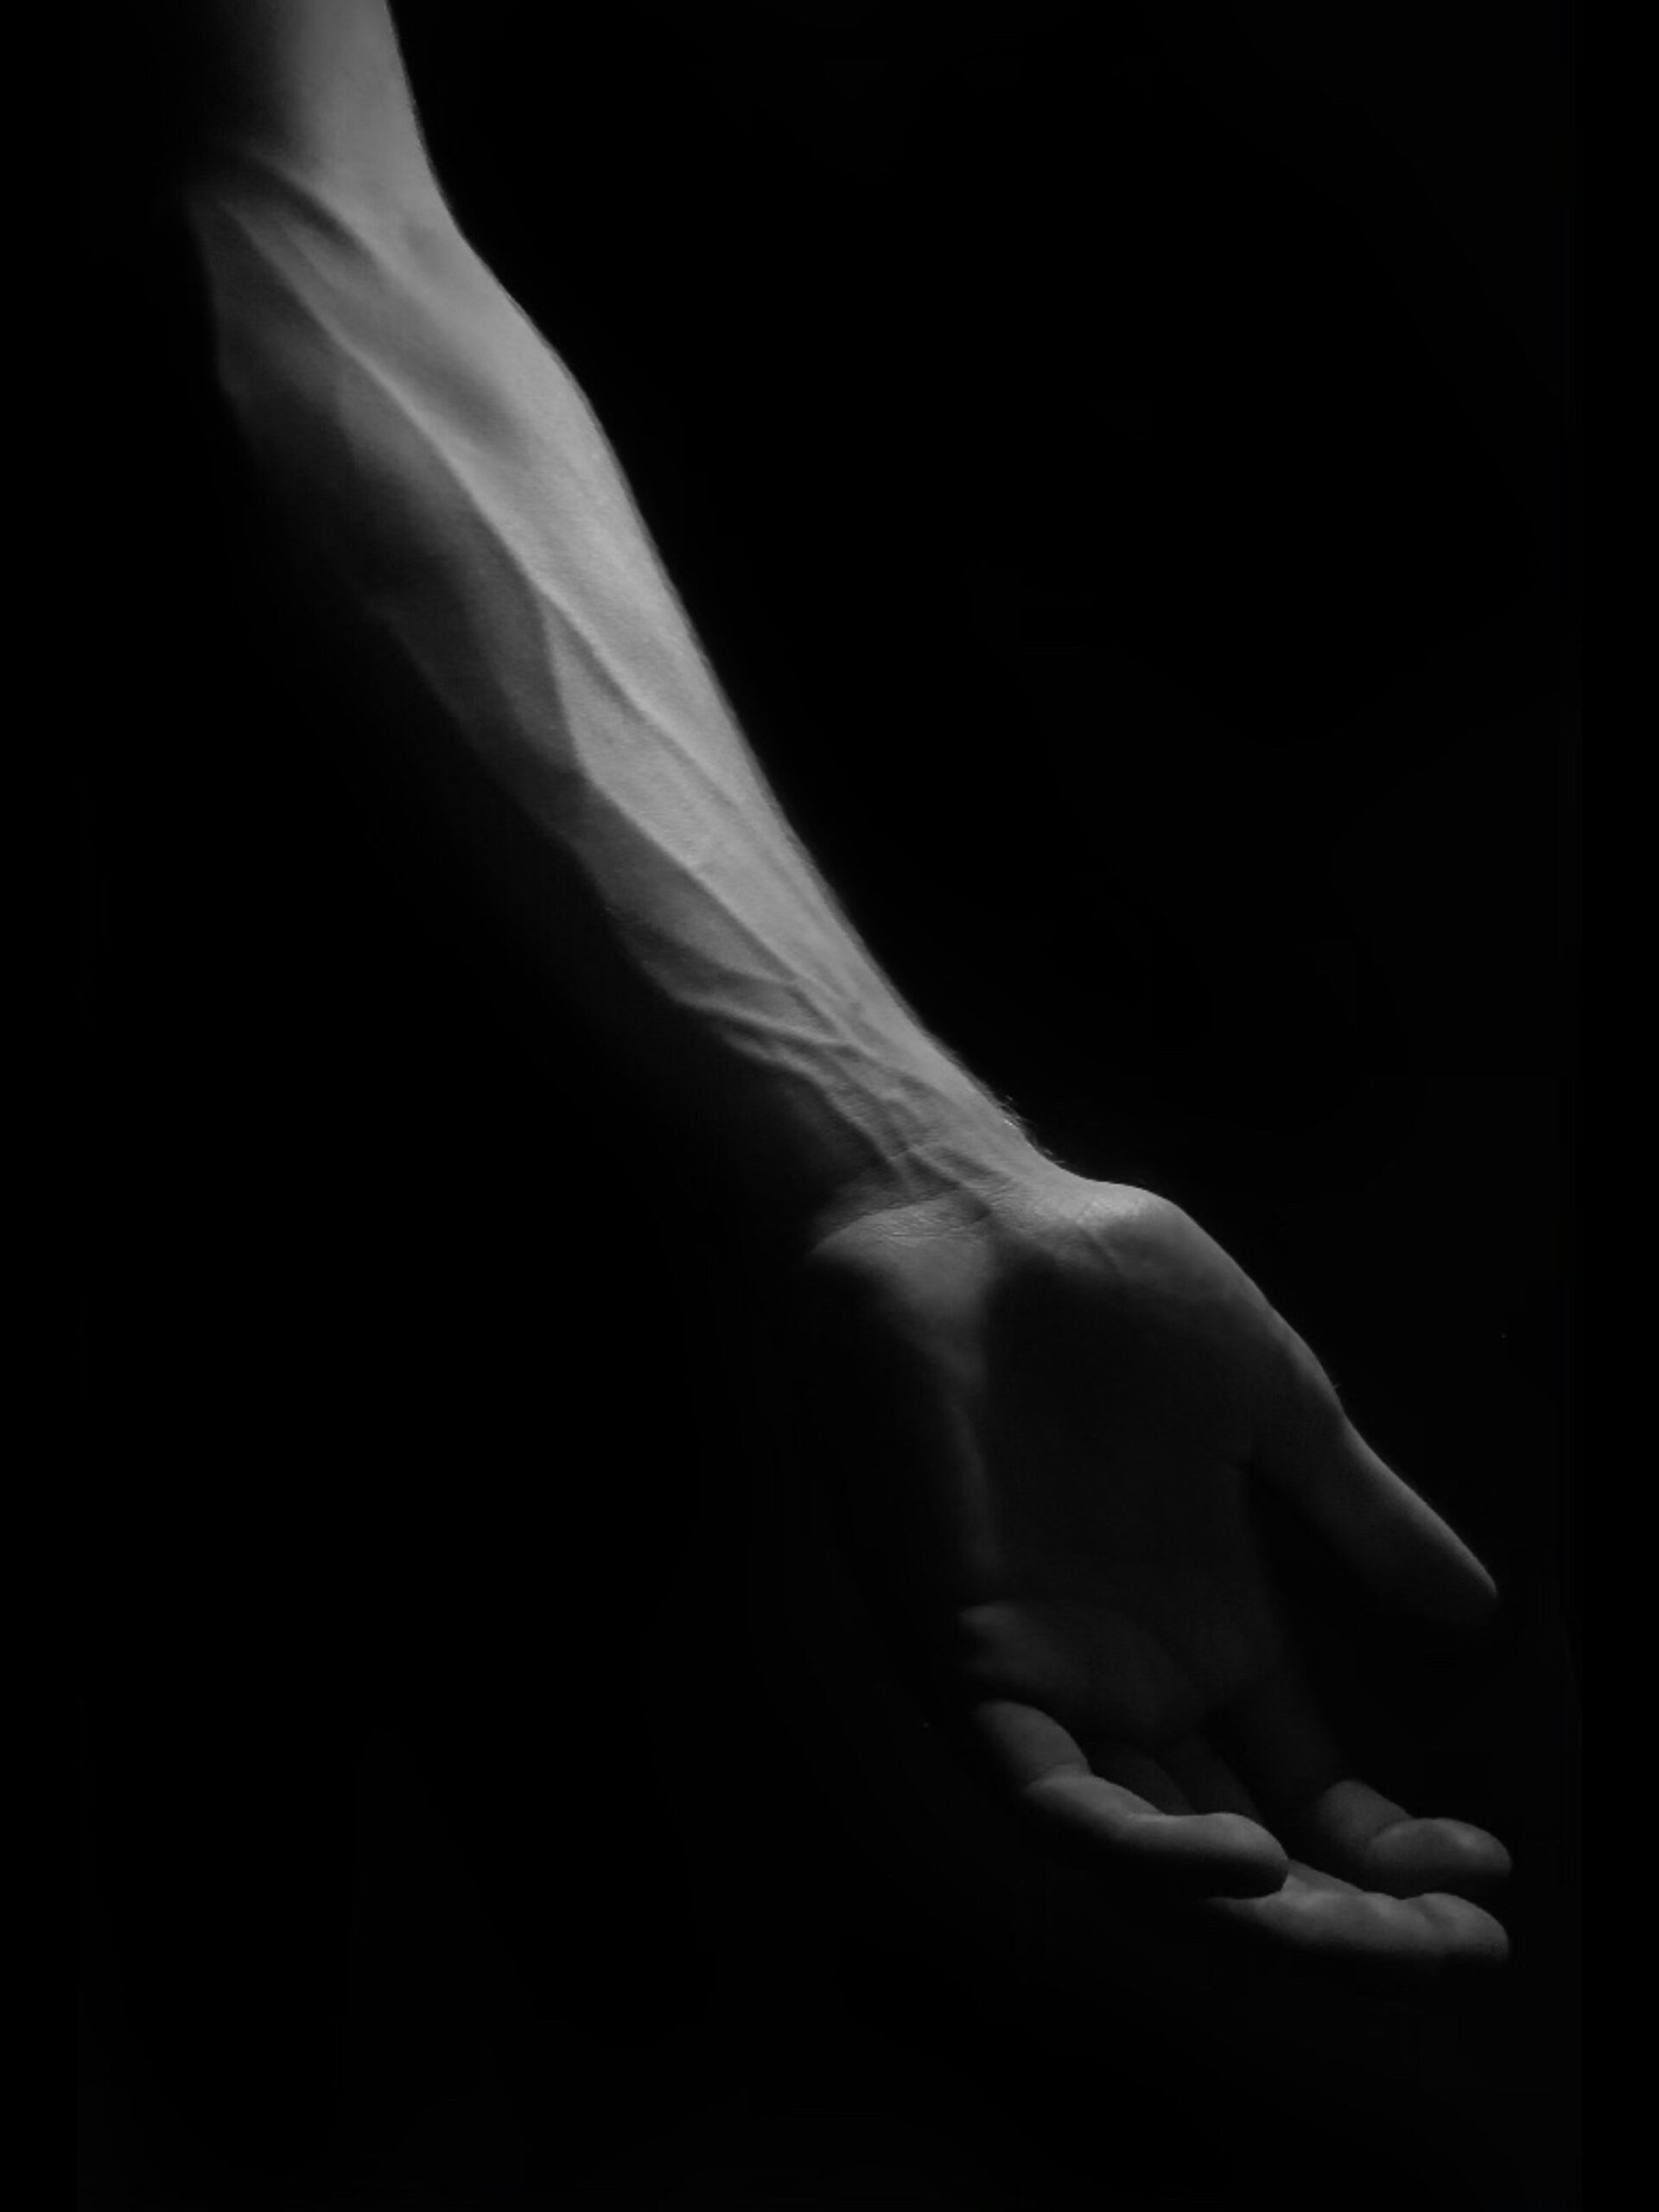 A technically successful draw can still produce a rejected specimen. The reason often lies in physiology rather than needle placement. Understanding how veins return blood connects tourniquet use, flow, patient position, and specimen handling instead of treating them as unrelated rules.
Tourniquet Time, Flow and Sample Damage
When a tourniquet remains applied beyond about a minute, fluid leaves the vessel while cells and larger components remain concentrated. This haemoconcentration can alter potassium, calcium, and protein results.
Haemolysis creates a different problem. Excessive suction, a needle too small for the vein, or vigorous mixing can damage red cells and release their contents into the sample.
Order of draw also reflects what happens inside each tube. Different tubes contain different additives, and carrying one additive into the next can contaminate the specimen. Once that interaction is understood, the sequence is no longer arbitrary.
Reading Complications as Anatomy Problems
Complications during blood draw correspond to recognisable anatomical events. A swelling haematoma suggests that the needle passed through the vein or that pressure after removal was inadequate. Bright red, pulsatile flow signals possible arterial puncture, while sharp, shooting pain points to nerve contact. Each sign requires the phlebotomist to stop.
A vasovagal reaction is a circulatory response. The needle should be removed, and the patient should be placed safely in a supine position according to procedure.
Similarly, stopping after two unsuccessful attempts and escalating is an anatomical judgement, not a confidence problem. It limits tissue injury when the available site no longer supports another safe attempt.
Learn the Body First, the Needle Second
Needle handling improves quickly and eventually becomes routine. Anatomical reasoning keeps developing because every arm presents a different combination of vessel depth, tissue support, landmarks, and restrictions.
For a phlebotomist, anatomy and physiology are not merely prerequisites. They shape site choice, palpation, complication recognition, the decision to stop, and the explanation for a failed sample. Each judgement returns to what is happening beneath the skin. The better that question can be answered, the safer and more reliable each draw becomes.
Written by Arjay Reyes (reyesarjaypaul@gmail.com)