It’s frustrating when you hit a plateau in your calisthenics journey, right? You’re putting in the work, cranking out the reps, but not seeing the results you crave. Or worse, maybe a nagging pain is sidelining you. Feeling somehow off? What if I told you the missing piece isn’t more reps, but understanding what your body’s doing?
That’s where muscle anatomy comes in. It’s been a game-changer for me, helping me train smarter, prevent injury, and finally unlock those skills I’d been chasing. Let me tell you why it can do the same for you. For those looking for personalized guidance and expert analysis of your movement, consider exploring the resources available at calixpert.com. This platform can provide tailored feedback and insights to optimize your calisthenics form.
Why Muscle Anatomy Matters: Your Body is the Gym
In calisthenics, you’re your own gym. This means understanding which muscles are doing what in each movement isn’t just some academic exercise; it’s about optimizing your form and refining your movement patterns. It’s about establishing that powerful mind-muscle connection so vital for squeezing every bit of potential out of each rep.
Ignoring anatomy? That path often leads to compensations. I see it all the time. People using the wrong muscles, creating imbalances, and eventually plateauing. Or, worst-case scenario, getting injured. I tweaked my rotator cuff doing pull-ups because I wasn’t engaging my lats properly. A little anatomy knowledge would have saved me weeks of recovery.
Think about complex movements. Everything is linked in what we call kinetic chains. The interplay of the agonist (prime mover), antagonist (opposing muscle), and synergist (assisting muscle) is constant. Without a clue about what’s going on under the hood, it’s like driving a car blindfolded.
Ultimately, a good understanding of all of this allows you to fine-tune each movement, target specific muscle groups, and improve overall performance. That leads to achieving your goals much quicker.
Muscle Roadmap: Key Groups for Calisthenics
Let’s break down the key muscle groups you’ll be using in your calisthenics journey. This provides a needed roadmap.
1. Upper Body:
- Shoulders (Deltoids): Crucial for shoulder stability and movement in pretty much any push or pull exercise. Think about the shoulder press motion – that’s your deltoids working.
- Chest (Pectorals): The pecs drive pushing movements. Your push-up power comes from here.
- Back (Trapezius, Lats, Rhomboids): Essential for pulling motions and shoulder blade control. These are the muscles that give you that “V” shape.
- Arms (Biceps/Triceps, Forearms): Biceps flex the elbow, triceps extend it, and the forearms are always helping with grip and stability.
Think pull-ups. They require strong lats, rhomboids, and biceps. Those are the prime movers and synergists to note.
2. Core:
- Rectus Abdominis, Obliques, Transverse Abdominis, Erector Spinae: This is your body’s natural weight belt. These muscles stabilize your spine, allow for trunk rotation, and help with flexion.
Core stability? It’s super-important in planks, levers, handstands, and just about everything. It’s the glue that holds everything together.
3. Lower Body:
- Glutes, Hamstrings, Quads, Calves: Calisthenics doesn’t neglect the legs!
Think pistol squats, Nordic curls, and explosive jumps. Your glutes propel your body. Your hamstrings enable powerful hip extension. Your quads straighten your leg, so these are key! Your calves help you jump higher, run faster, and maintain balance.
So, you now have an overview of the key muscles needed. Let’s see how this looks when we put the puzzle together.
Anatomy in Action: Key Calisthenics Movements
Here’s where things get practical. Let’s dive into how anatomical awareness translates to better performance in some key calisthenics moves.
1. Pull-ups
- Movement: Hanging from a bar and pulling yourself up until your chin clears the bar.
- Primary Muscles: Lats, biceps, forearms.
- Secondary Muscles: Lower traps, rhomboids.
- Common Pitfalls: Overusing your arms and not engaging your lats.
- Tips: Focus on scapular depression (pulling your shoulder blades down and back) to engage your lats. Think about pulling with your elbows, not just your hands. I used to just yank myself up, but once I learned to engage my lats, my pull-ups became so much smoother and stronger.
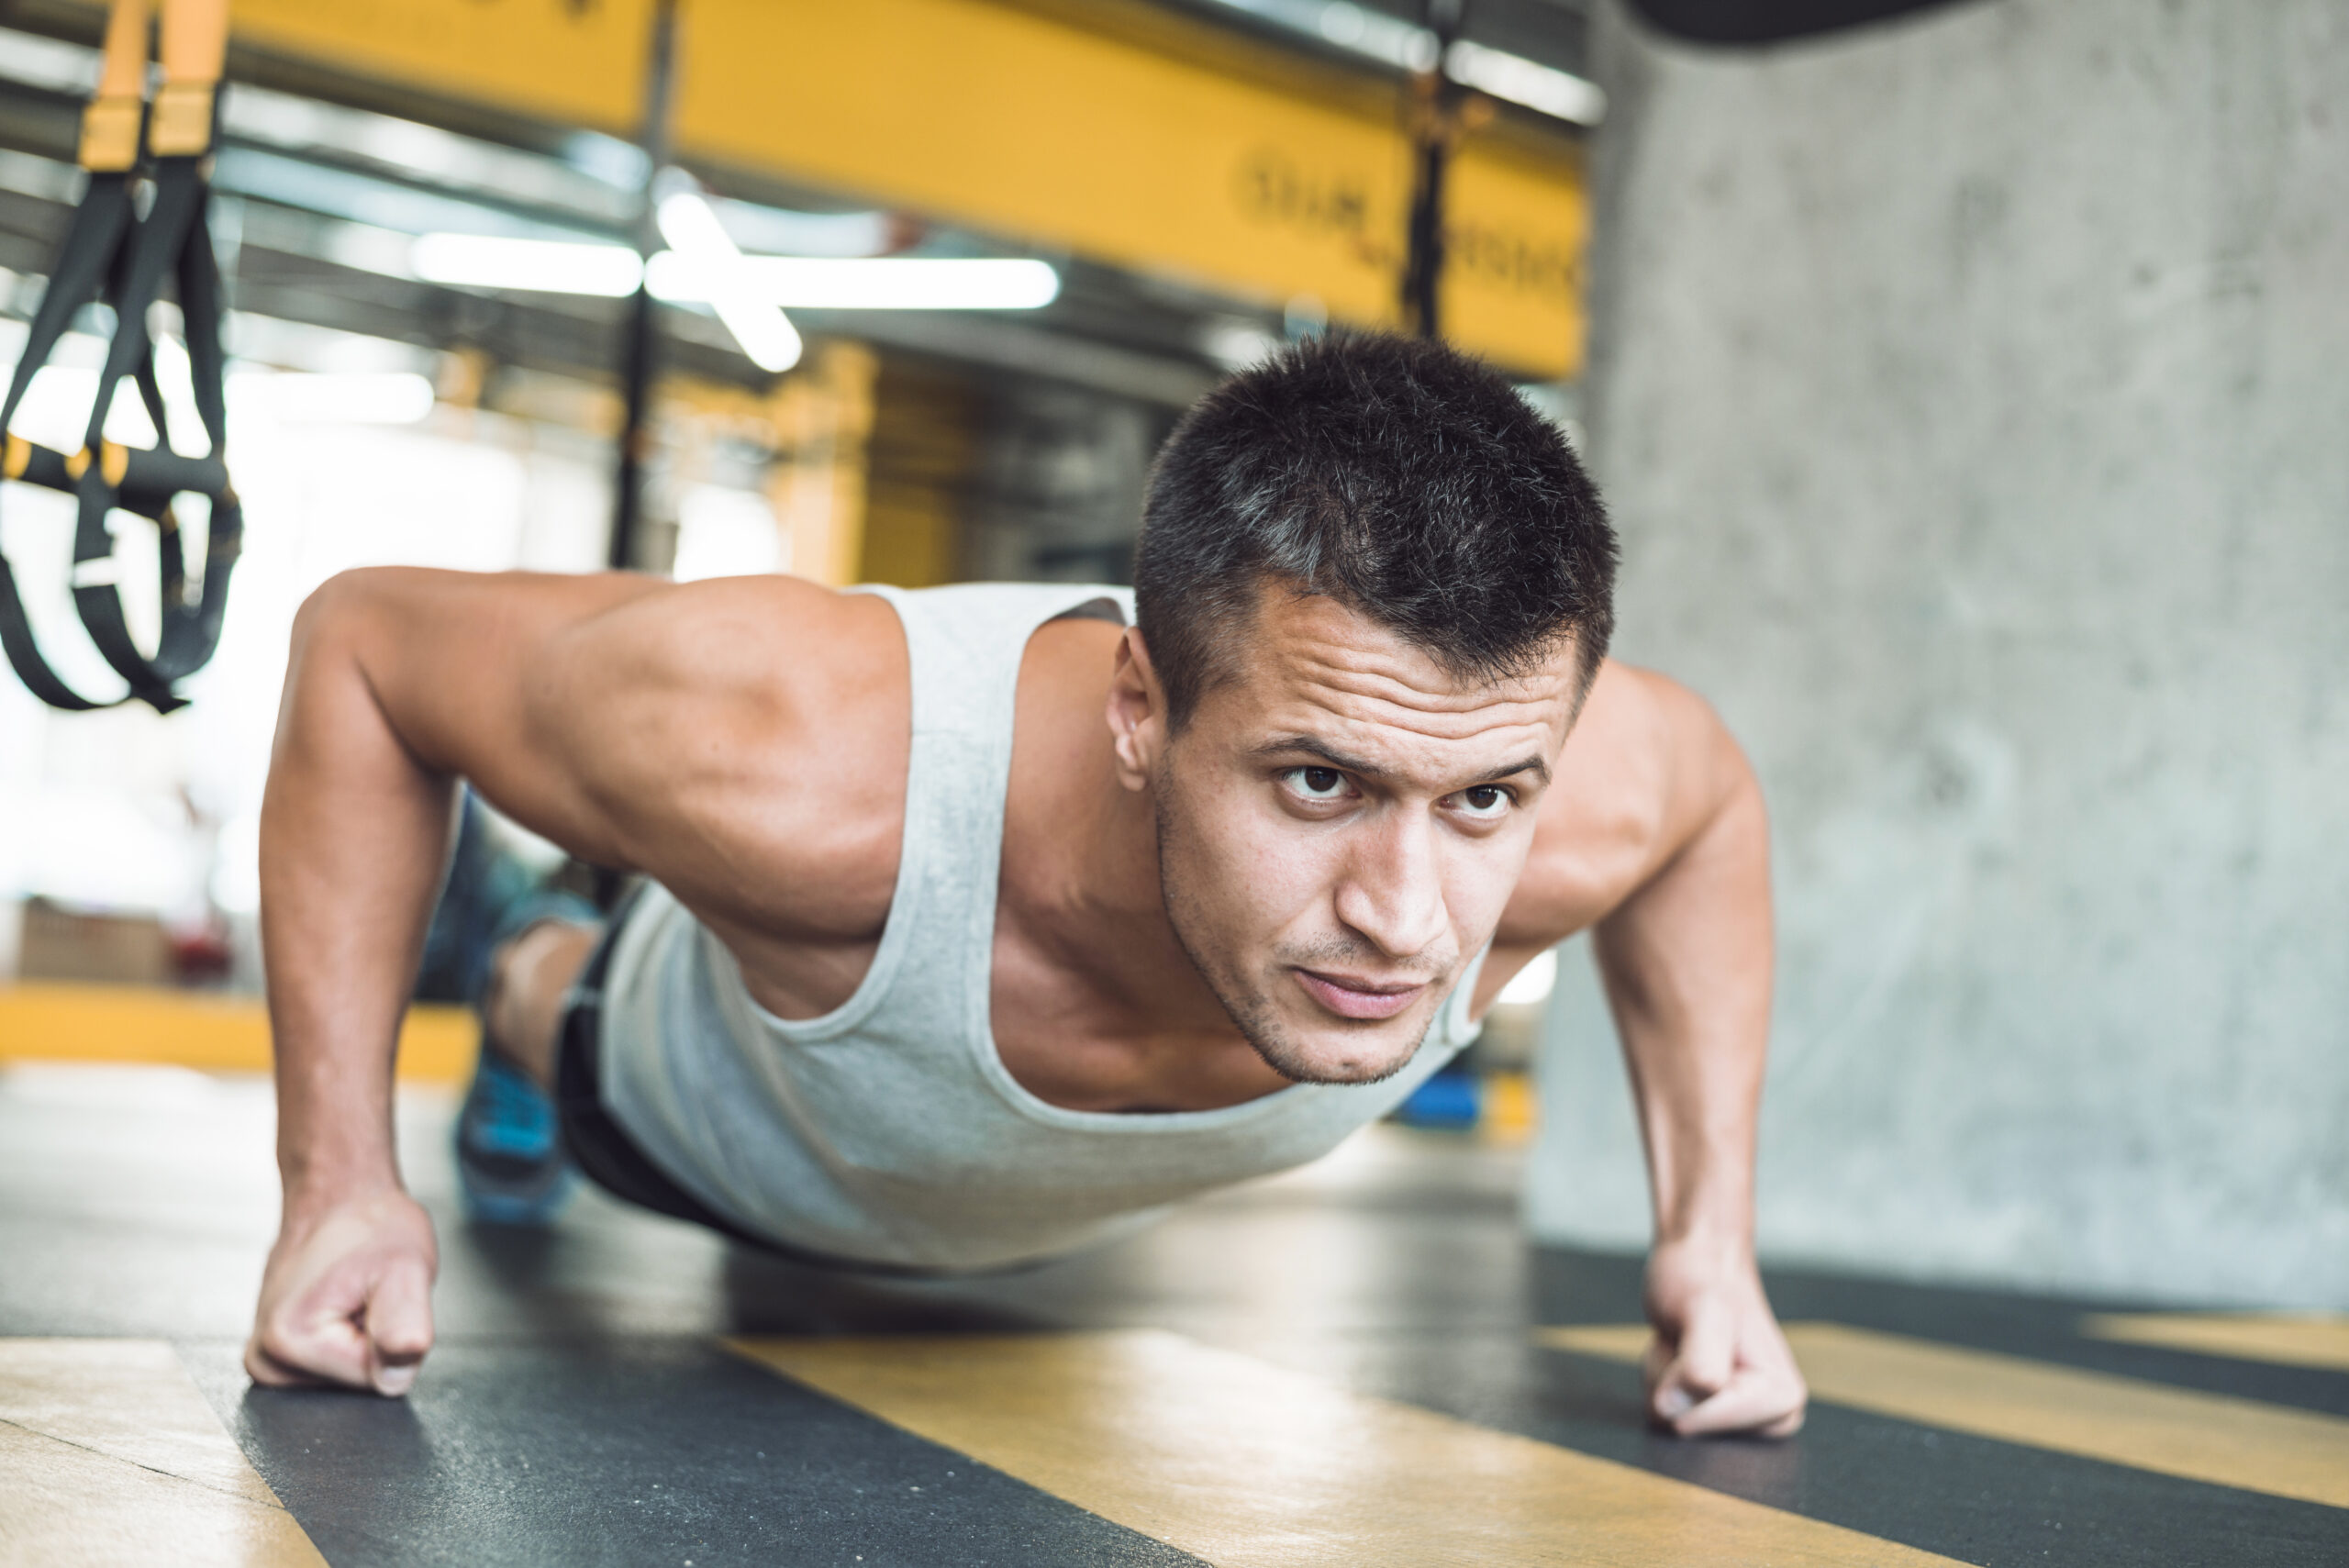
2. Push-ups
- Movement: Starting in a plank position and lowering your body until your chest almost touches the ground, then pushing back up.
- Primary Muscles: Pecs, triceps, deltoids.
- Secondary Muscles: Core, serratus anterior.
- Common Pitfalls: Sagging hips, flared elbows, weak core.
- Tips: Maintain a straight line from head to heels. Keep your elbows at a 45-degree angle. Engage your core throughout the movement. A friend of mine was complaining about shoulder pain during push-ups. Turns out, he was flaring his elbows way out. A simple adjustment fixed the problem.
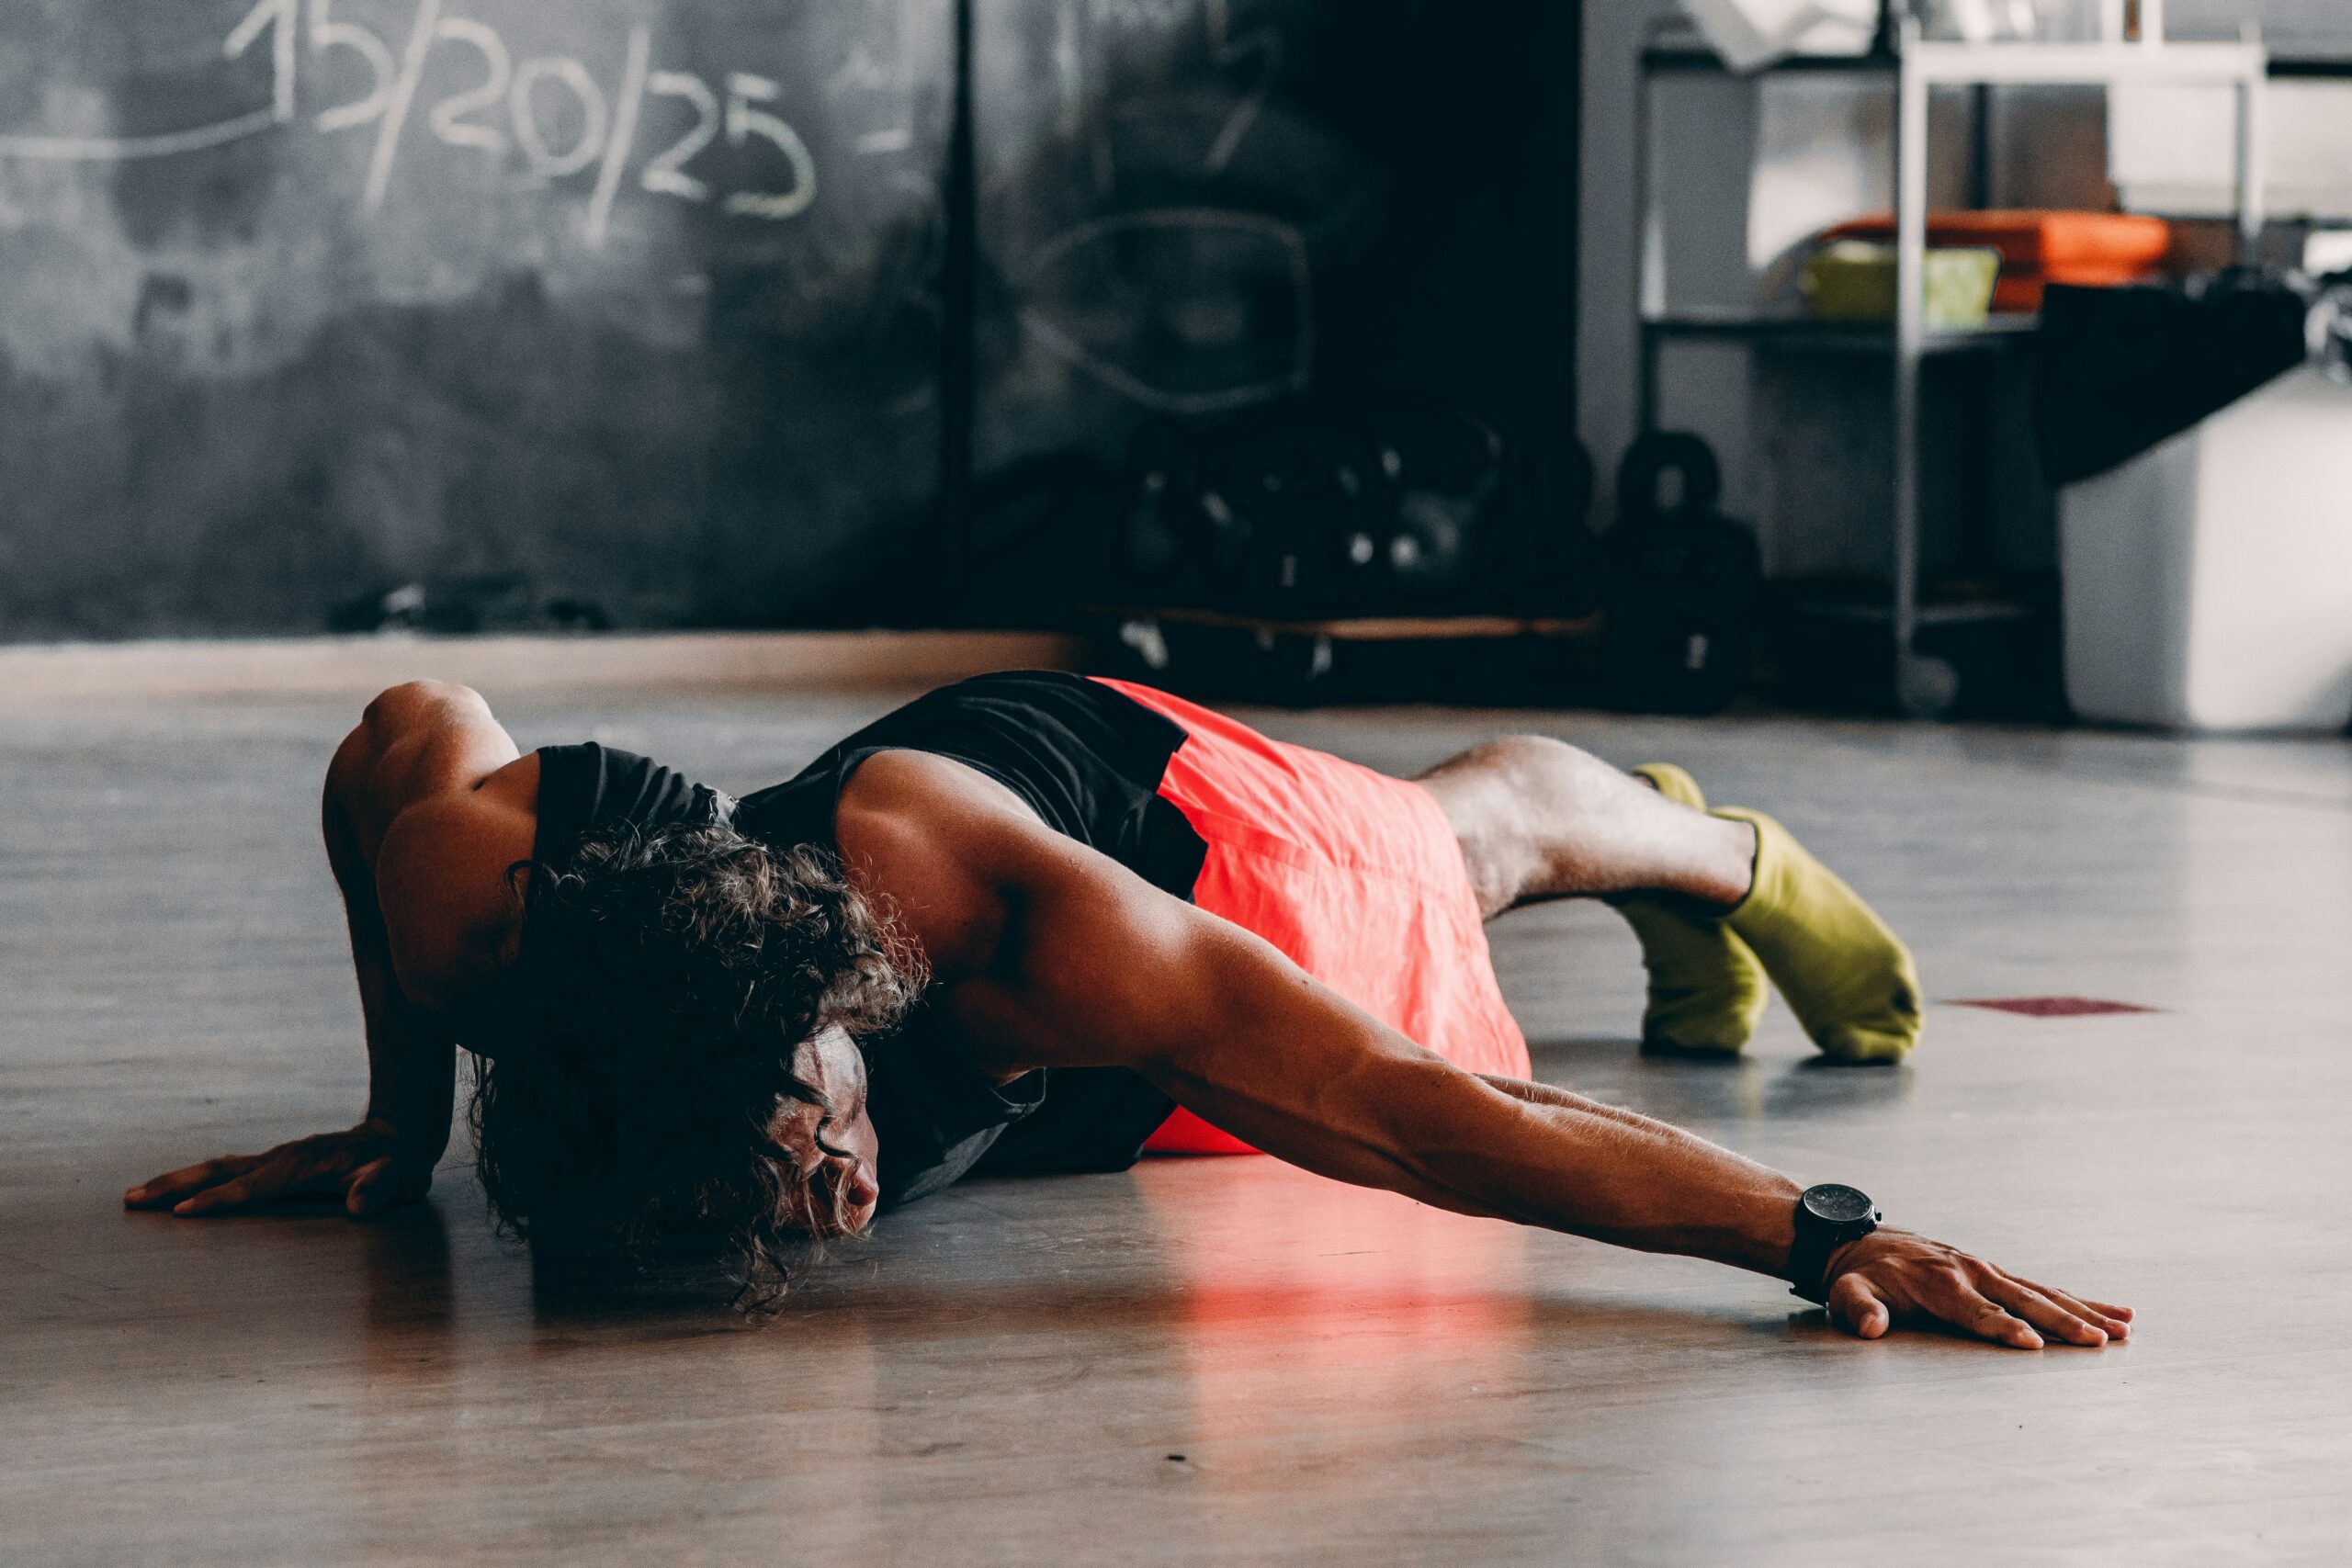
3. Planks & Levers
- Movement: Holding a straight line position (plank) or extended straight line position (lever) while engaging core.
- Primary Muscles: TVA, obliques, rectus abdominis.
- Secondary Muscles: Glutes, lats, deltoids.
- Common Pitfalls: Sagging hips, rounded back, holding your breath.
- Tips: Focus on drawing your belly button towards your spine (TVA engagement). Squeeze your glutes. Maintain a neutral spine, and keep the breath flowing. I always thought planks were easy until I focused on engaging my TVA. Talk about a wake-up call!
4. Pistol Squats
- Movement: Squatting down on one leg while extending the other leg out in front of you.
- Primary Muscles: Glutes, quads.
- Secondary Muscles: Adductors, ankle stabilizers.
- Common Pitfalls: Poor balance, weak glutes, insufficient ankle mobility.
- Tips: Focus on activating your glute medius for stability. Improve ankle mobility through targeted stretches. Start with assisted pistol squats (holding onto something for support). Pistol squats used to be my nemesis until I realized my ankle mobility was holding me back.
Progressions and Skill Building: Target Weak Links
Knowing which muscles are the prime movers and stabilizers allows you to isolate and strengthen any weak links.
Want to progress in the front lever? Focus on strengthening your scapular muscles separately. Work on rows, band pull-aparts, and other exercises that isolate those muscles.
Incorporate accessory exercises and mobility drills based on muscular function. Tight hip flexors holding back your squats? Do some hip flexor stretches! Weak rotator cuff limiting your handstand push-ups? Start doing rotator cuff strengthening exercises!
Prioritize progressions that build from muscle activation to full-body integration. For example, you may move from: (1) incline push-up, (2) standard push-up, and then finally (3) pseudo planche push-up to show smarter progressions rooted in your anatomy.
Injury Prevention: Balanced Training
Understanding muscle function and muscle pairings can help you avoid overuse injuries. Balanced training is key.
Think about pushing versus pulling. Ensure your pushing exercises are paired with their pulling counterparts. Same goes for the anterior versus posterior chain. You don’t want to only train your quads without training your hamstrings.
You also must recognize and address any muscle imbalances and mobility restrictions. Tight hamstrings, weak glutes, these things contribute to all sorts of problems. My own tight hamstrings were contributing to lower back pain.
Make sure your warm-ups include prehab exercises that target commonly neglected muscles, like the rotator cuff, thoracic spine mobility, and hip flexors.

Tools and Resources: Dive Deeper
So, you’re ready to dive deeper? Here are some resources to help you continue your anatomical journey:
- Anatomy Apps: Muscle & Motion, Visible Body. These apps offer interactive 3D models of the human anatomy and they help to visualize muscle actions.
- Calisthenics-Focused Anatomy Resources: YouTube videos or books. “Overcoming Gravity” by Steven Low is great.
- Consider signing up for guided coaching or enroll in anatomy-based training programs. Many coaches and trainers offer specialized programs that incorporate anatomy principles into calisthenics training, and these can be a good bet.
Consider this an invitation to continue learning. The journey is ongoing.
Conclusion
Anatomy is a tool that enhances performance. It’s not only some academic knowledge to memorize; it allows for a new and better way of understanding your body’s biomechanics. And if you use that well, then you will achieve your goals.
Your bodyweight is your gym, but anatomy is your blueprint.
Reflect on your training. How can this new knowledge improve it? Take your favorite move and assess which muscles you are actually using.
Go out there and revisit your favorite move and assess what muscles you’re engaging. Are you using the right muscles, or are you compensating? Understanding muscle anatomy isn’t just about knowing names and locations; it’s about unlocking your body’s full potential.
It’s about making every rep count, avoiding injury, and achieving those calisthenics goals with confidence and control.
And really, who doesn’t want that?
Written by vicheeno@hotmail.com