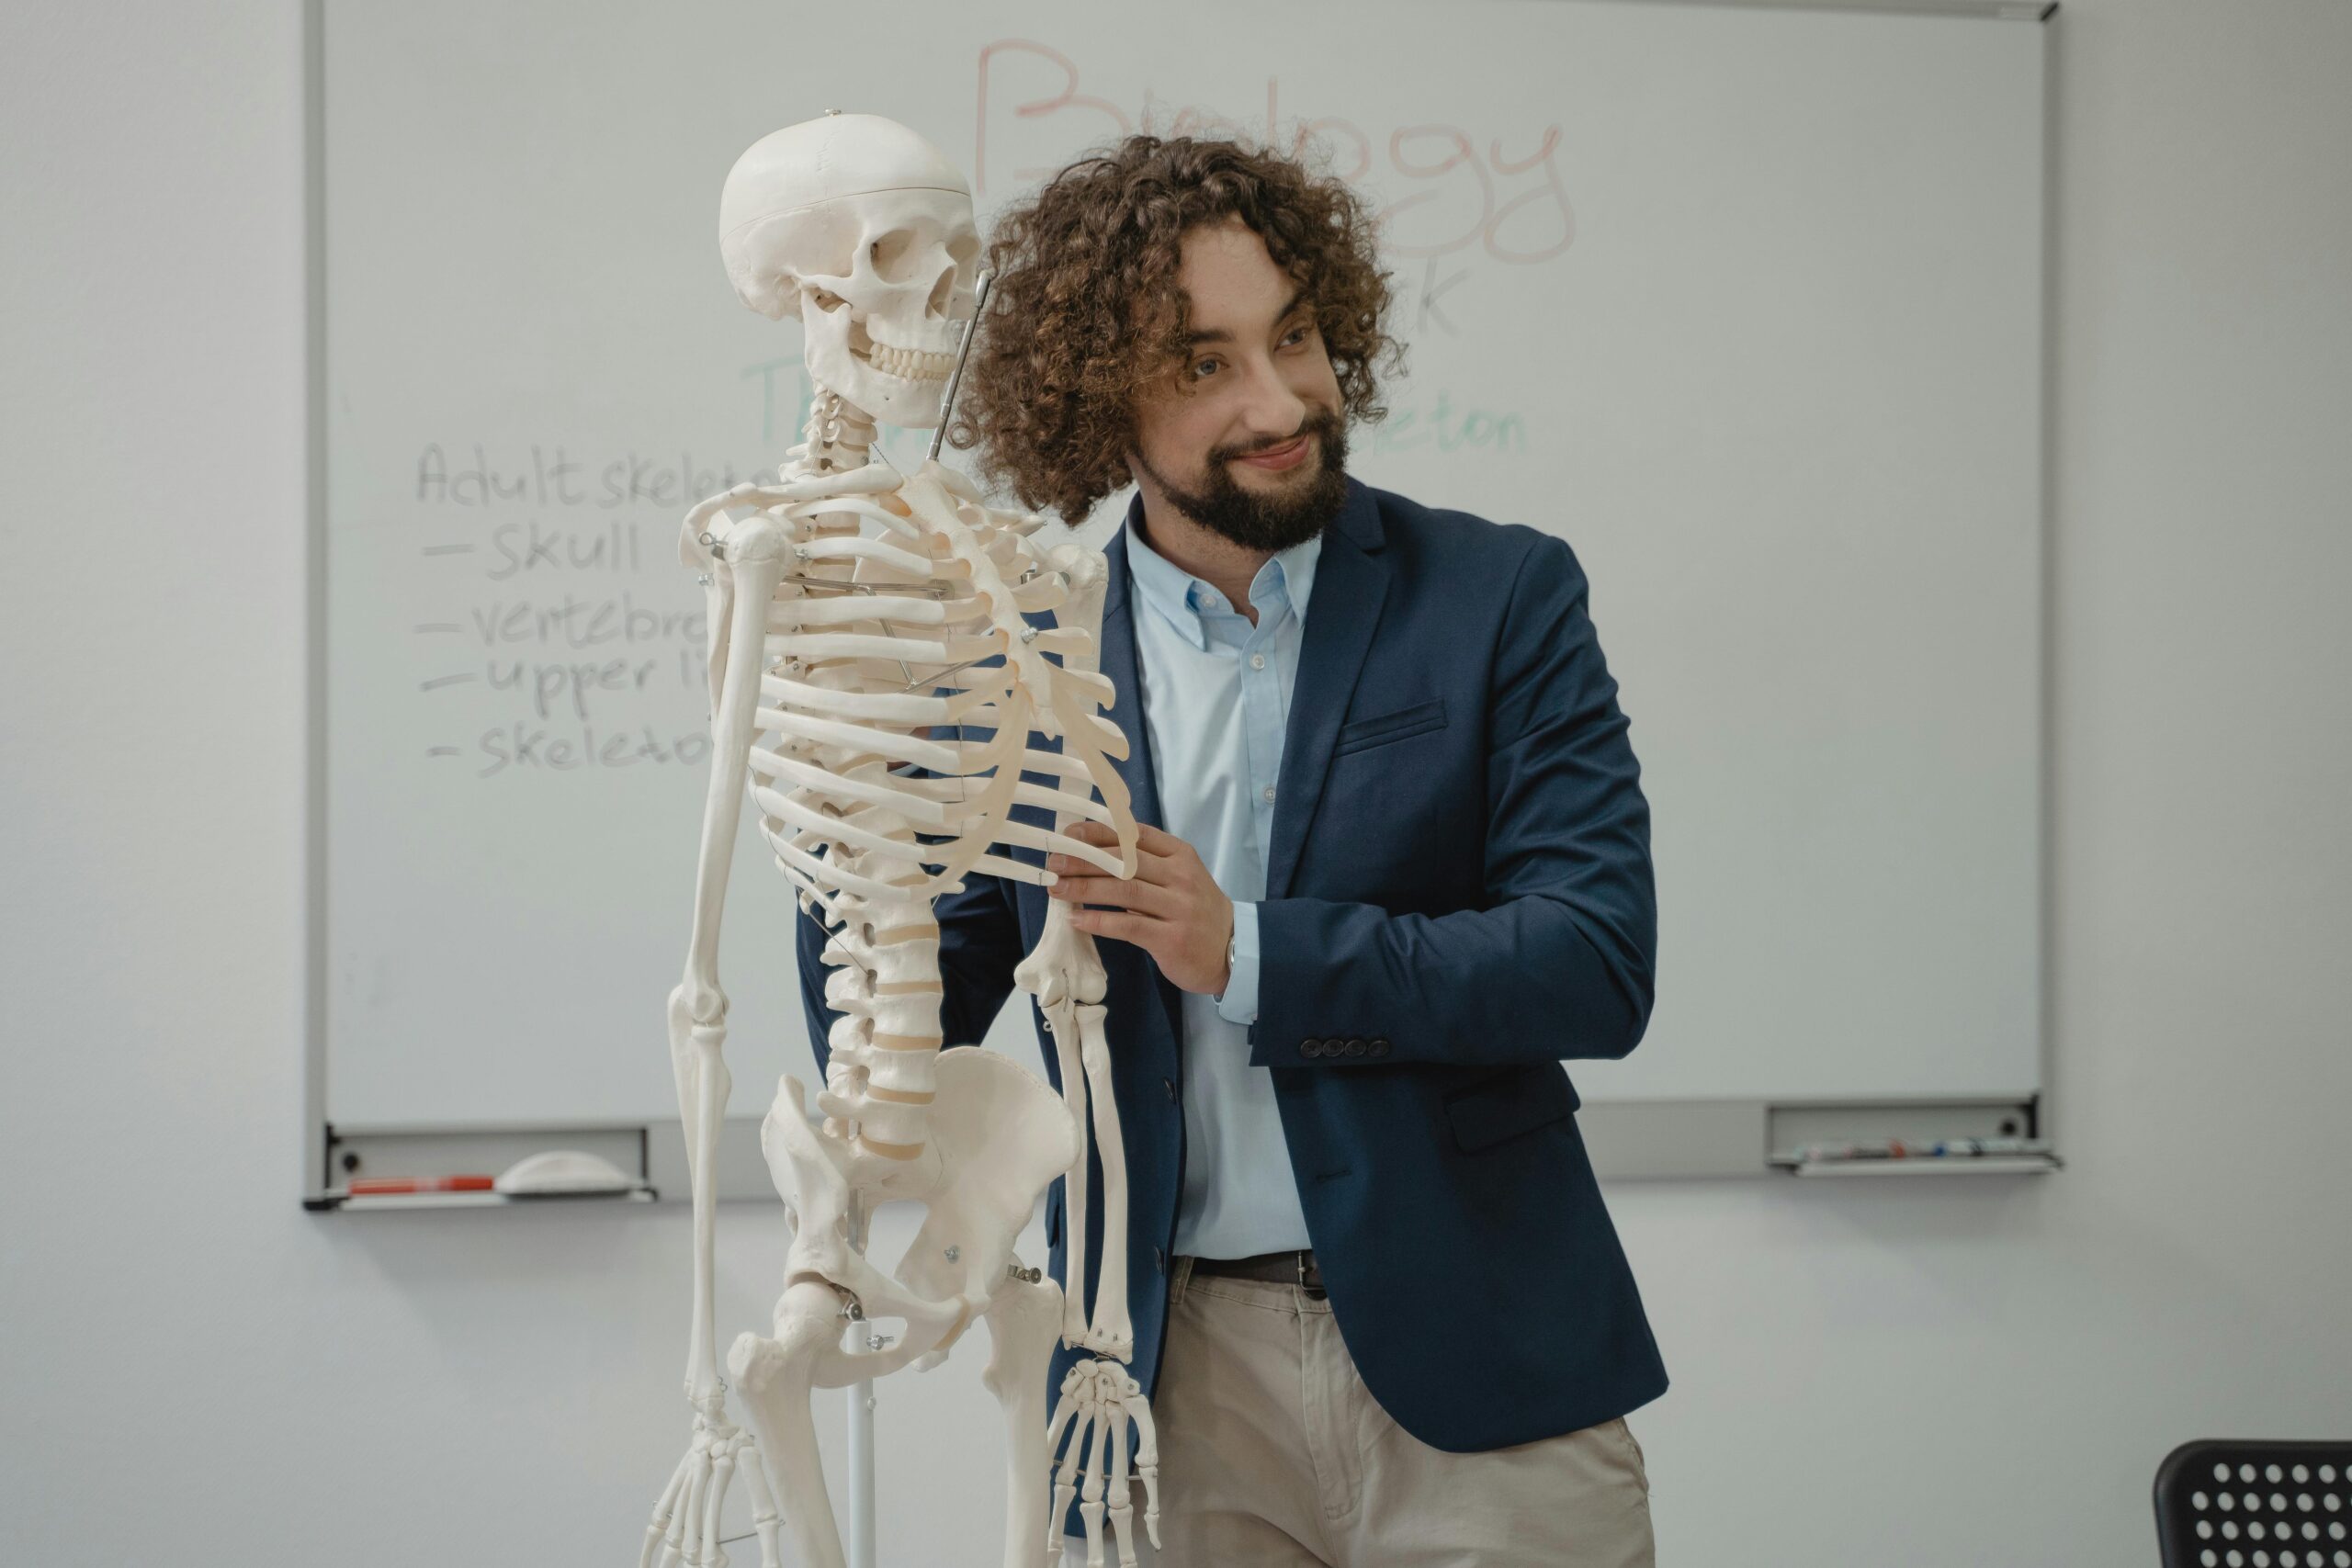
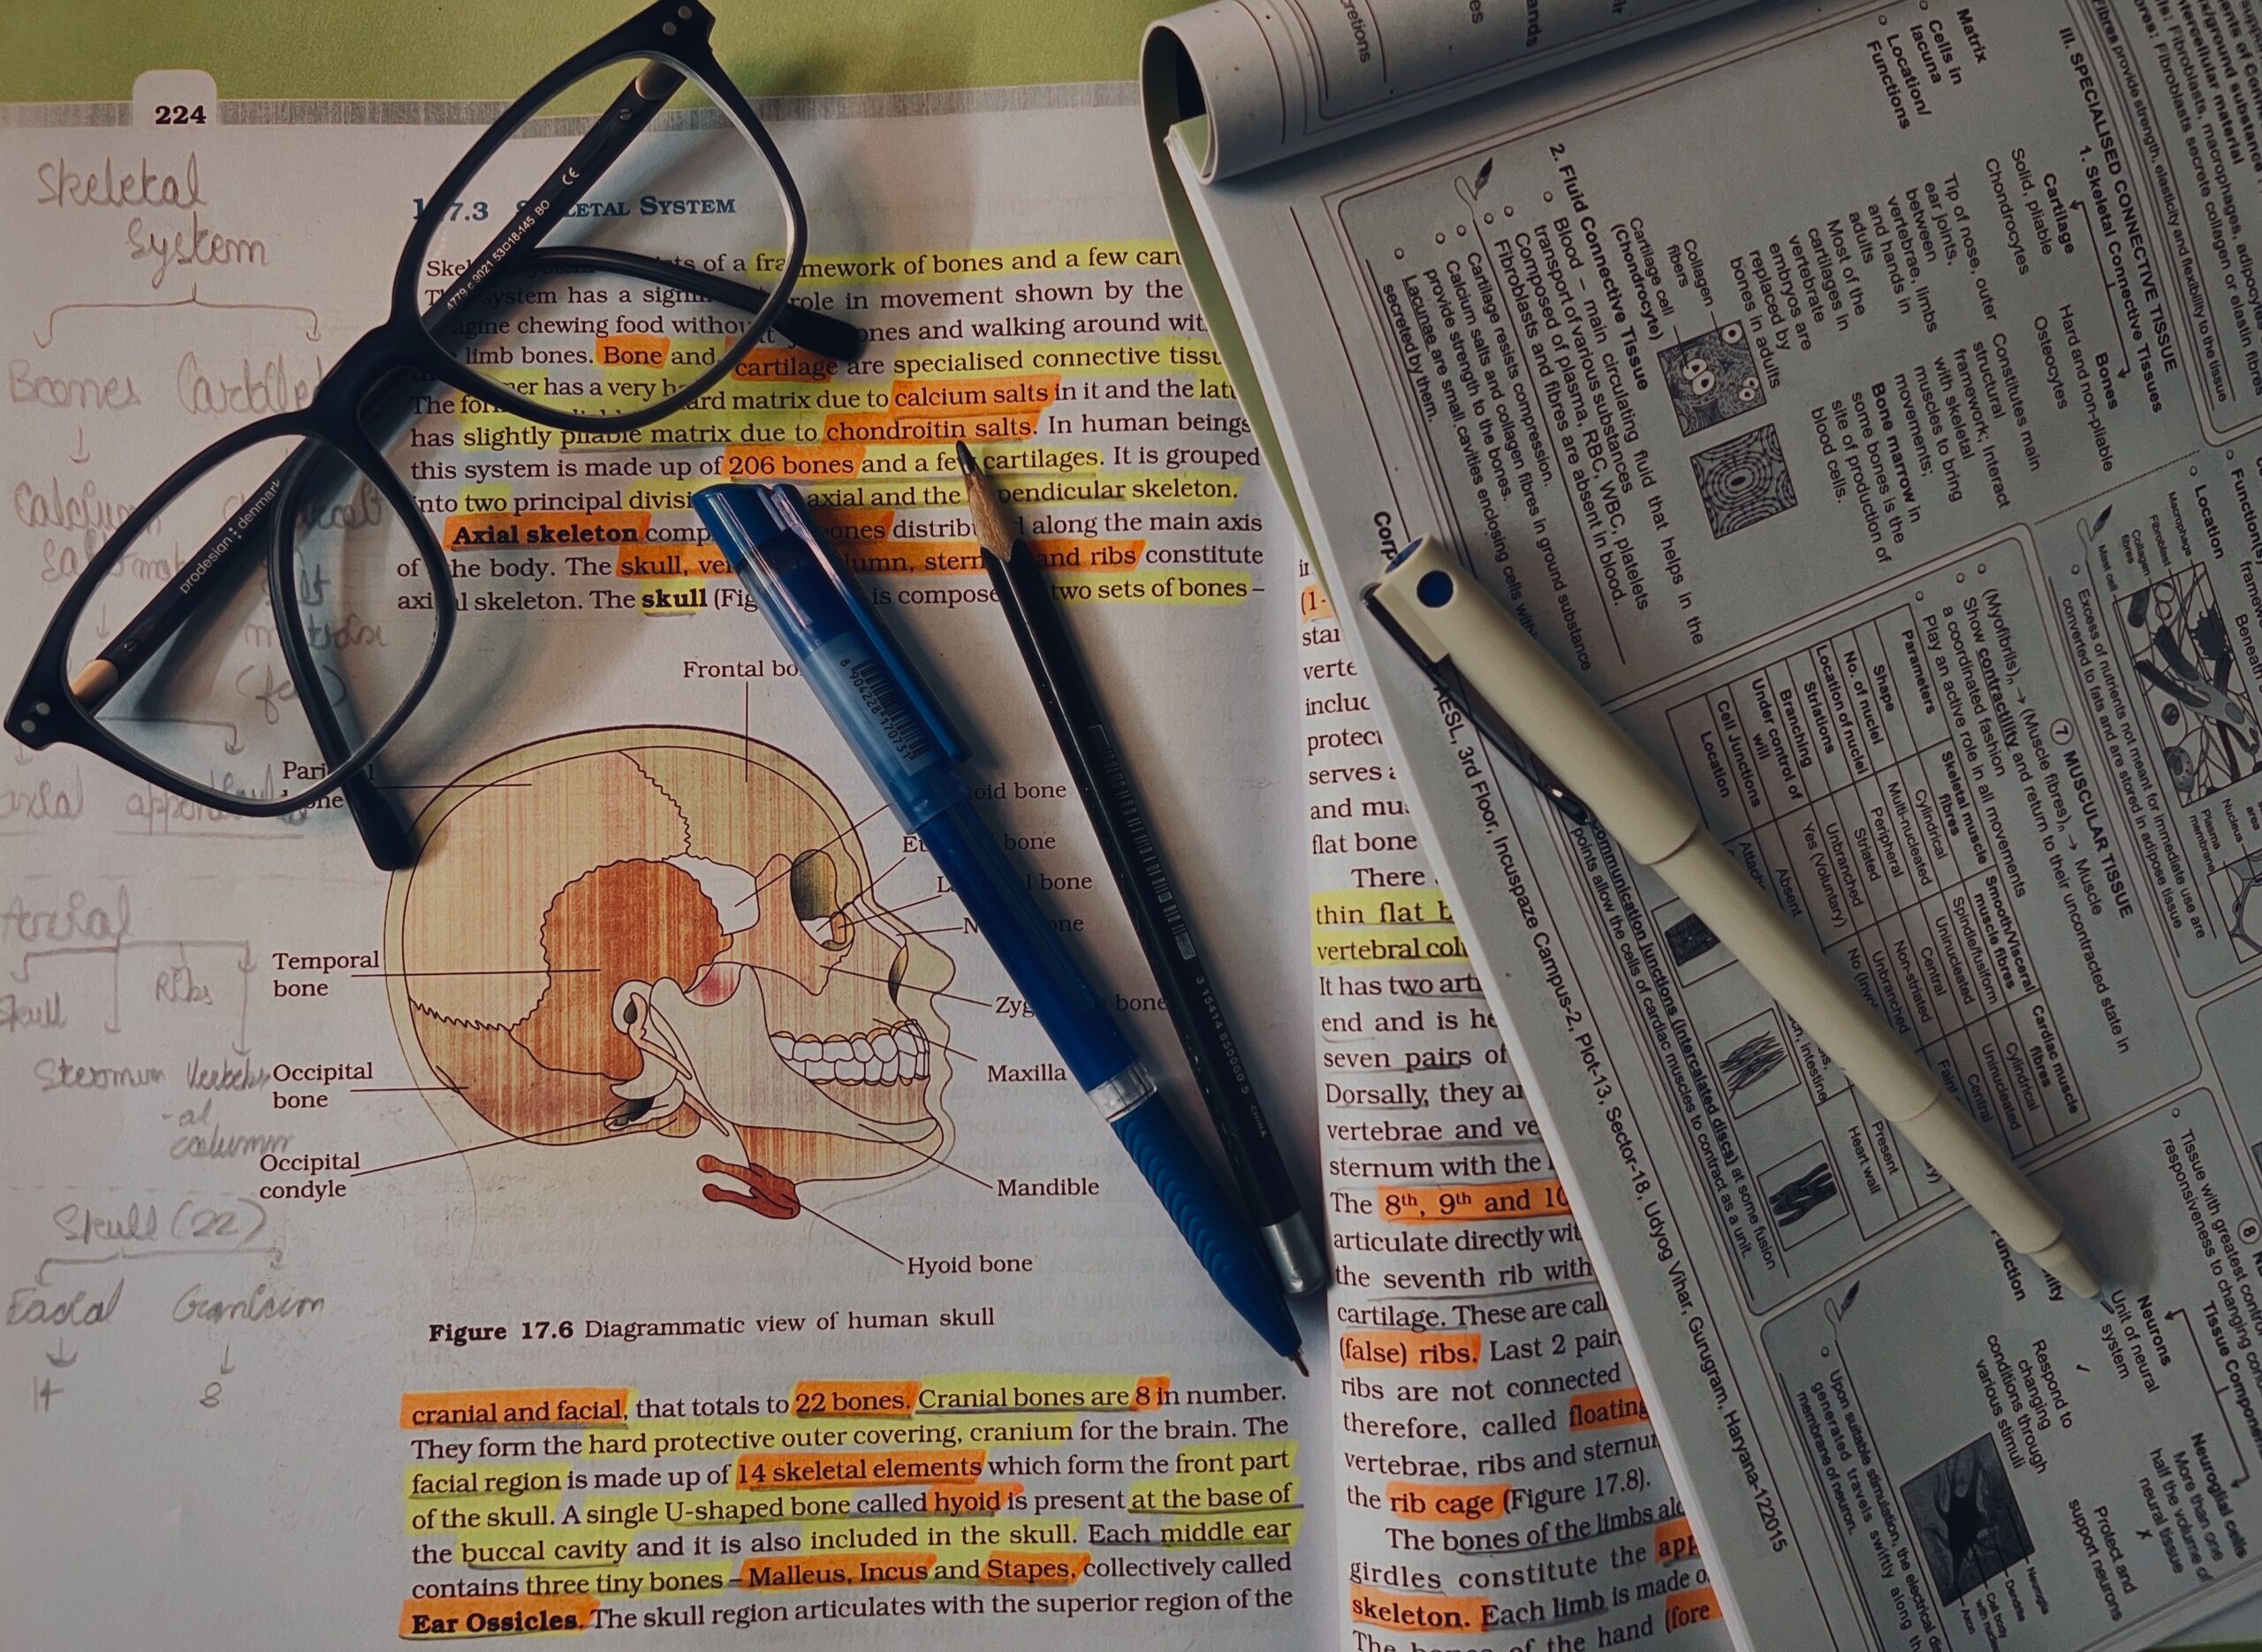
Anatomy lab can feel like a completely different world. Honestly, the very first time you walk through that door, it just hits you. Suddenly you are staring down hundreds of muscle names, random origins, insertions, complicated actions, and it is just this massive, terrifying wall of information. It is so incredibly easy to feel completely swallowed up by the sheer volume of Latin terms thrown at you on day one. I think a lot of students try to approach anatomy by just trying to brute-force the whole thing. They sit there and stare at a heavy textbook for hours under those harsh, buzzing fluorescent lights, desperately hoping the names will somehow just magically stick to their brain.
But rote memorization rarely works for complex anatomical systems. It just doesn’t.

If you want to master muscle groups without completely losing your mind, you need a way more strategic approach. Have you ever wondered why some students seem to breeze through practicals while others stay buried in flashcards until midnight, listening to the lonely hum of their laptop in a dark room? You have to understand how these muscles connect. You have to see how they function, and learn to organize the information so your brain can actually retain it. I guess we have all been there, staring at a diagram until the lines blur and you question your entire career path.
Here is how you can transform your anatomy study routine and actually memorize muscle groups much more efficiently.
Learn the Secret Language of Anatomy
Breaking down a muscle name to its root and descriptive word and relating the parts of the muscle name to the characteristic of the muscle is key to memorizing information for anatomy. The root of the muscle name tells us the location or origin of the muscle and the descriptive word tells us the form or function of the specific muscle.
For example, the rectus femoris muscle has the word rectus which means straight, and the word femoris which refers to the femur or thigh. Therefore, the name of this muscle is telling us that it is straight and in the thigh. Another example is the adductor longus muscle. The name of this muscle is telling us that the action of this muscle is adduction and that it is long. The rectus femoris muscle is called ‘straight (rectus) of the femur (femoris)’ which gives us the information about where the muscle is on the body and the direction of the muscle fibers. The adductor longus is a muscle that is primarily an adductor and is long. By learning the Latin roots and common terms used in anatomy, you will have a ‘cheat code’ to use for studying.
Many of the muscle names are directly descriptive of the muscles. For example, the rectus femoris is a straight muscle of the femur. The adductor longus is a long muscle that adducts. Knowing the Latin words for ‘short’ (brevis), ‘superficial’ (superficialis), ‘deep’ (profundus), and ‘of the arm/forearm’ (brachii) will help decipher many of the long muscle names. This knowledge also comes in handy when studying the Latin terms of the different muscles. The first part of a muscle’s name is called the root. The root describes a specific feature of the muscle. The second part of a muscle’s name is called the suffix or descriptive ending. This part of the name describes where the muscle is, what it looks like, or what the muscle does. When you know the root words and the common suffixes and descriptive endings of the different muscles, you can translate the name of the muscle as you read it. This makes studying a breeze.
Instead of just memorizing seemingly random terms and their definitions, you can apply your knowledge to help you figure out what a muscle does just by reading its name. This is like having a cheat code to studying anatomy.
Group Muscles by Action and Compartment
Many students study muscles in alphabetical order, often different groups of muscles at a time. But the human brain is not suited to such an approach: it wants to recognize patterns, make connections, group things together. So how do you organize the muscle groups for efficient study? One way is to group the muscles of the forearm by their compartment. For example, the anterior forearm contains the flexors and pronators, while the posterior contains the extensors and supinators.
Next, organize your studies of the muscles by the compartments of the body where the muscles are found or by the actions the muscles perform. For example, the forearm contains many muscles. The anterior forearm contains the flexor and pronator muscles. The posterior forearm contains the extensor and supinator muscles. The forearm is home to a plethora of muscles but can easily be divided up into two groups: the muscles of the anterior (front) compartment of the forearm, which are all the flexor and pronator muscles. And then there are the muscles of the posterior (back) compartment, which are all the extensor and supinator muscles.
When you group muscles this way, you can build dedicated study decks to quiz yourself on specific regions rather than trying to swallow the whole body at once. Maybe focus on mastering just one single compartment before you allow yourself to move to the next. By isolating your focus to a specific functional group, you build a mental framework. That makes it much easier to recall the individual pieces during a high-stress practical exam. And that is really the whole point.
Use Your Own Body as a Living Textbook
Anatomy is a 3D subject, therefore it is best to learn it in 3D. Use your own body as a ‘living textbook’ and learn a muscle group first and then physically touch the corresponding area on your body. Perform the action of the muscle group and you will feel the muscle contract as a tendon under your skin. For example, contract your elbow up towards your shoulder whilst studying the biceps brachii, and you will feel the large muscle belly contract beneath your skin. Rotate your forearm up into supination and you will feel the change in tension of the muscle. I’ve given you some tips on how to transform your study routine for learning anatomy of muscle groups.
Learn to understand the names of the muscles and study each muscle in groups by actions or by the compartment in the body where the muscles reside. Use your body as a living textbook of anatomy by correlating the drawings in your 2D textbook with the corresponding 3D muscles of your own body. Touch and study the corresponding muscles on your own body. Learn to perform the action of each muscle and feel where the tendons attach to the bones in your own body. Draw washable markers on your skin and from your diagram on your skin study corresponding diagram of the same muscle on your textbook and correlate the drawings in the 2D textbook with 3D muscles of your body.
And that is where the magic happens. When a student contracts a muscle and feels its tendon move over the bone of the adjacent joint it creates an anchor for their memory of the definition of that tendon in the textbook. For example, while studying the biceps brachii students can flex their elbow feeling the big muscle belly of the biceps in their upper arm. They can then supinate their forearm feeling the change in tension in the biceps brachii. Students can then draw the boundaries of the entire muscle, and the tendon and structures of origin and insertion on the skin using washable markers. This form of visualization of the anatomical structure and their function in the living textbook (the student’s own body) is a very powerful method of studying and can be a little strange at first but is extremely effective.
Teach the Concepts to Someone Else
If you want to learn a subject, then the amount of which you can learn it is the amount which you can teach it to someone else. In this case, by teaching the muscles of the lower limb to the walls (yes, that’s right – to the walls) you will learn the quadriceps in no time. In addition to learning the four muscles (which are rectus femoris, vastus lateralis, vastus medialis and vastus intermedius), you will also learn where the muscle attaches, and how it acts. Thus you will know that the quadriceps group of four muscles (rectus femoris, vastus lateralis, vastus medialis and vastus intermedius) attach to the patella (kneecap). They all work together to extend the knee joint.
- Explain each of the muscles of a particular group of muscles such as the quadriceps group of muscles.
- Describe each muscle’s attachment points.
- Describe the function of that group of muscles as a whole.
- Describe how all of the muscles in that group of muscles work to perform that function of extending the knee for example for the quadriceps group of muscles.
By explaining the anatomical group of muscles to someone else, all of the muscles in that group of muscles, the process of explaining your knowledge of any anatomical group of muscles to someone else will expose any holes or gaps in your own knowledge of that group of muscles. This is a powerful study aid. Teaching others forces you to actively retrieve information from your brain and this will strengthen the neural pathways that information travels along in your brain to make a very strong user of that information. Passive reading of information does not cause the same results as active use of information. Your brain thrives on patterns and relationships. Study of the muscles of the body in groups by their compartments or by their actions is one of the most efficient ways to study the muscles of the human body for anatomical.
By teaching information you are actively retrieving the information from your brain. Studying highlighted material by re-reading it is not the same as active studying and does not serve to strengthen the same neural pathways as is the case when you actively use the information that you have learned. Studying anatomy is very different to studying other subjects. With other subjects you are generally a passive receiver of information; with anatomy you become an active user of that information.
Written by Dianne Joyce