This is the 3rd in a series of 13 articles on Deep Pressure Massage Technique for the Low Back
Deep Pressure Massage to the Low Back – Body Mechanics
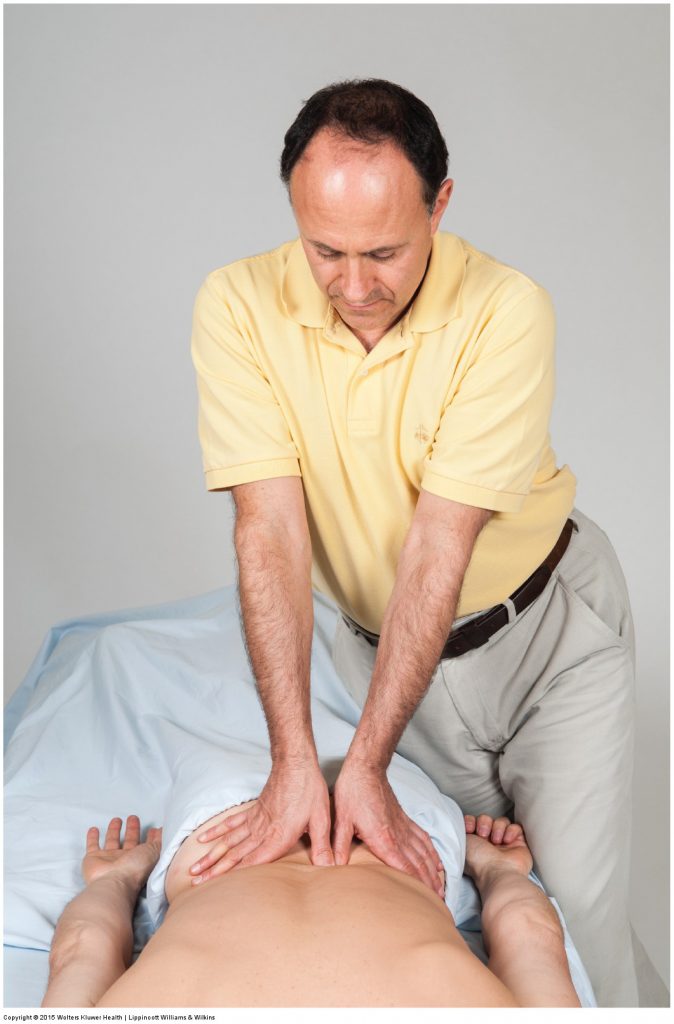
Figure 1. Starting position for deep tissue work to the left side of the low back. Permission Joseph E. Muscolino. Manual Therapy for the Low Back and Pelvis – A Clinical Orthopedic Approach (2013).
The science of performing proper body mechanics for deep pressure soft tissue manipulation work to the low back and pelvis follows the laws of physics and, whenever possible, involves the use of body weight and the contraction of larger muscles instead of smaller ones. The art of performing body mechaniss for deep pressure soft tissue manipulation work lies in exactly how these guidelines are carried out and applied. The following is an overview of deep pressure work to the medial low back region of the client. In this example, the target musculature, the musculature being worked, is composed of the paraspinal muscles that lie directly lateral to spinous processes in the lumbar region.
Starting Position – Body Mechanics
- The client is prone. You are standing at the side of the table, on the client’s left side, close to the client.
- Your left hand is the contact hand, and it is placed on the left side of the client’s low back.
- Your right hand is the brace hand or support hand, and it is placed over the contact hand.
- Note that your elbows are tucked in front of your body so that you can use your core body weight behind your contact when pressing into the client (Figure 1).
Step 1: Place Contact on the Client’s Musculature
- The contact hand is the one that actually contacts the client.
- A wide choice of contacts can be used when working the client’s low back.
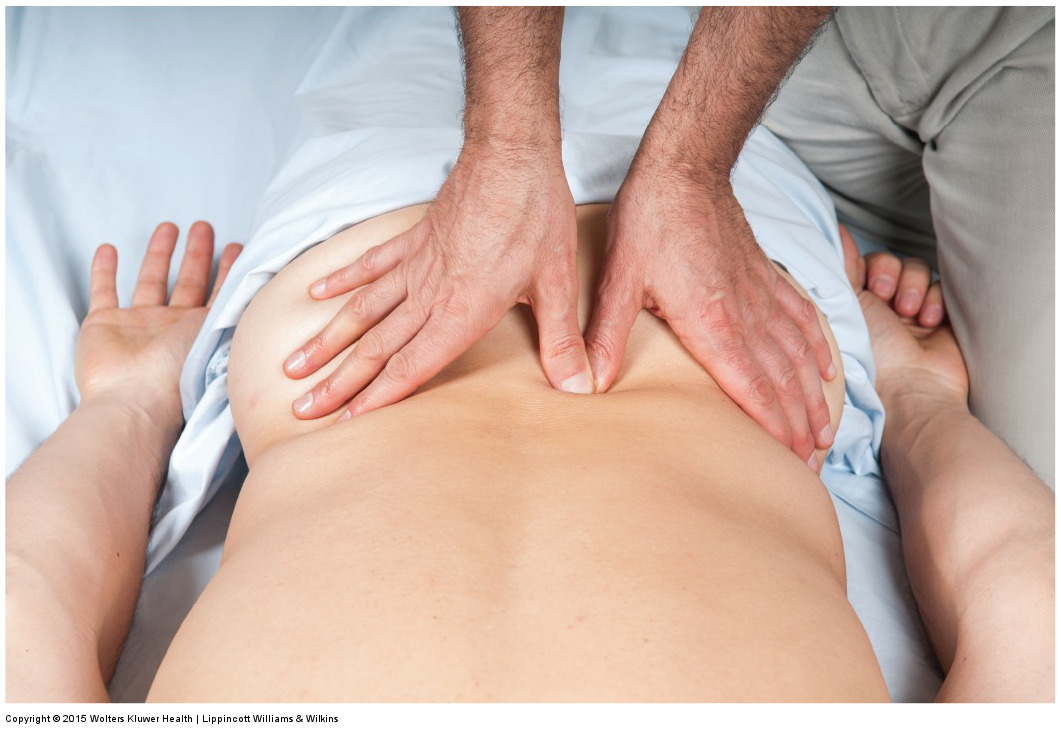
- In Figure 2, the thumb pad of the left hand is being shown as the contact and is placed directly lateral to the midline on the left side of the client’s body over the paraspinal musculature of the lumbar region.
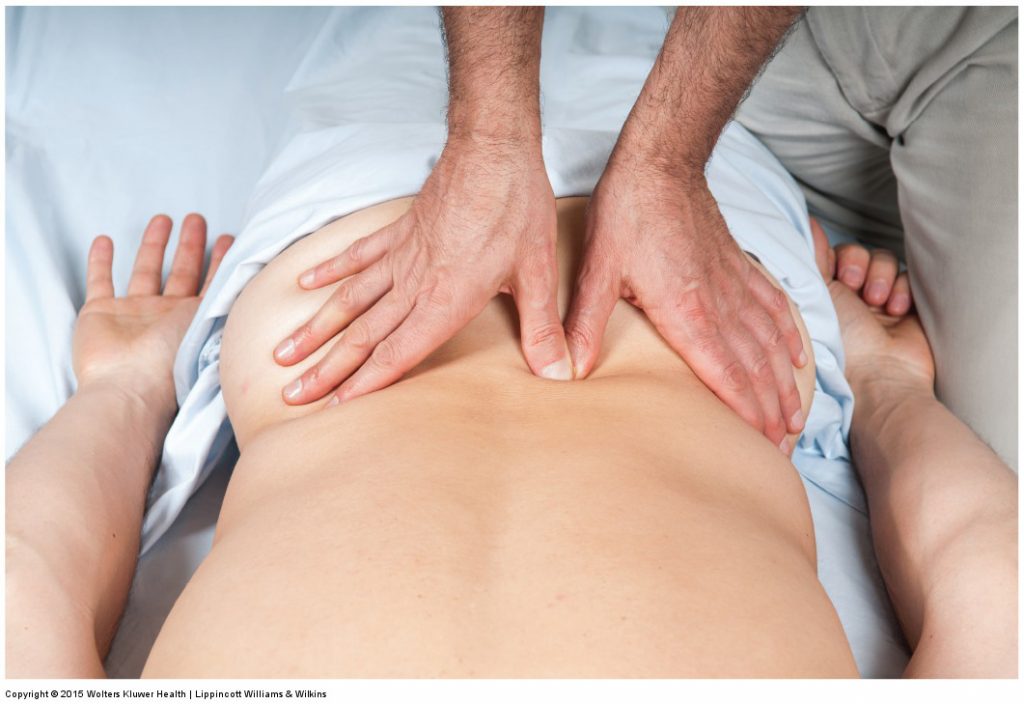
Figure 2. Thumb pad contact with the other thumb as the brace. Permission Joseph E. Muscolino. Manual Therapy for the Low Back and Pelvis – A Clinical Orthopedic Approach (2013).
Step 2: Brace/Support the Contact – Body Mechanics
- For proper body mechanics, it is important to support your contact. Place the thumb pad of your right hand over the thumb pad contact of the left hand to brace/support it. Proper location of the brace is to place the right thumb pad on the dorsal surface of the distal phalanx of the thumb, in other words, on the thumb nail (see Fig. 2).
- An alternative brace/support contact is shown in Figure 3.
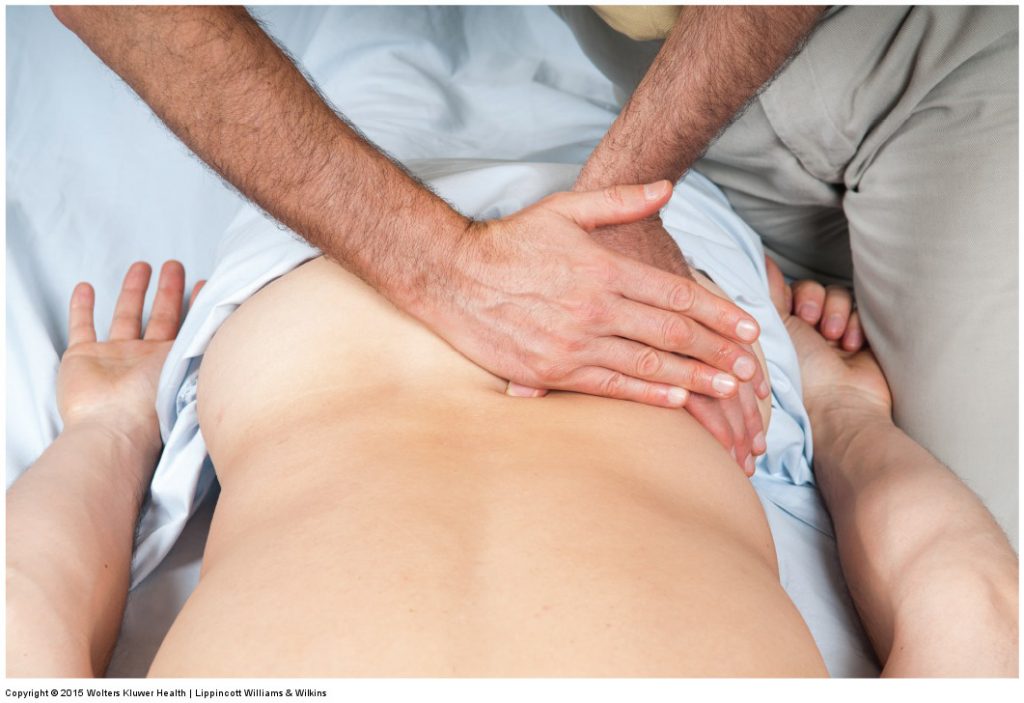
Figure 3. The thumb pad contact with the ulnar side of the other hand as the brace. Permission Joseph E. Muscolino. Manual Therapy for the Low Back and Pelvis – A Clinical Orthopedic Approach (2013).
Step 3: Apply Pressure
- Now perform the deep pressure work by pressing into the client’s musculature with the thumb pad of your left hand.
- This pressure is supplemented by pressure from the right hand that braces the left (contact) hand. In effect, both hands function as treatment hands to generate pressure into the client.
- It is important to sink slowly into the client’s tissues and to apply the pressure as close as possible to perpendicular to the contour of the client’s body that you are working.
- The movement for this pressure should originate from your core body weight (Figure 4).
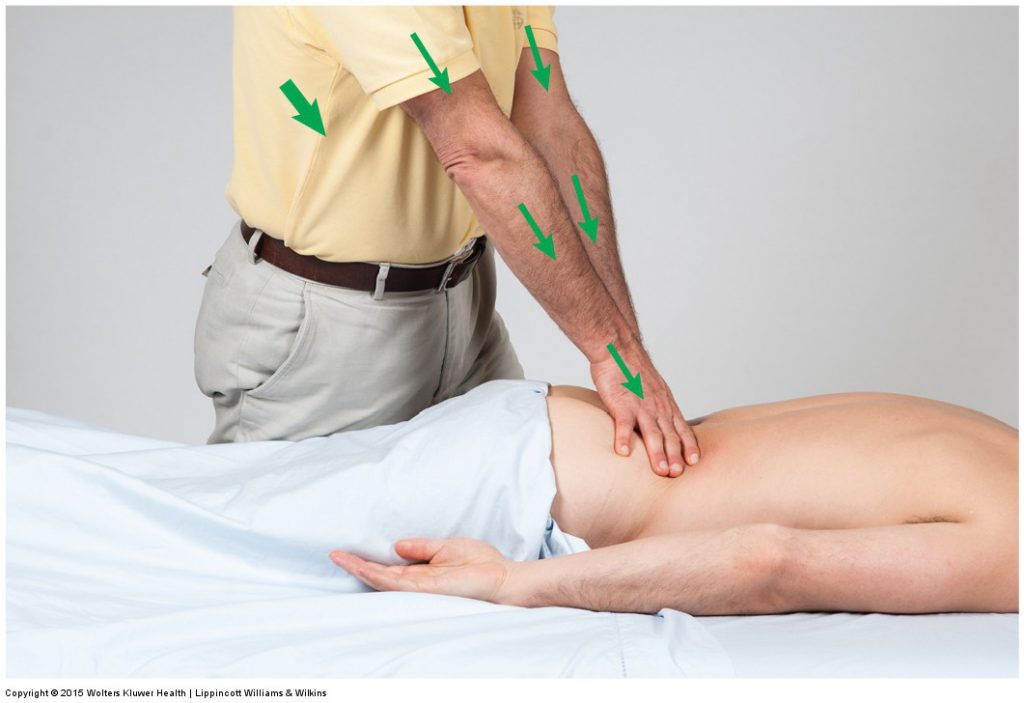
Figure 4. Generation of force from the core. When applying pressure into the client, as much of the force as possible should originate from the core body weight. Permission Joseph E. Muscolino. Manual Therapy for the Low Back and Pelvis – A Clinical Orthopedic Approach (2013).
Performing Deep Tissue Work on Stretch
The treatment routine explained here has the client’s spine in a neutral position with respect to flexion or lateral flexion. However, it can also be valuable to work the musculature while on stretch. The advantage to working a muscle on stretch is that it intensifies work into the more superficial musculature. The advantage to working a muscle that is shortened is that it slackens the more superficial musculature, allowing greater access to deeper musculature.
The accompanying figures demonstrate working the lumbar musculature on stretch. In Figure A, the prone client’s low back is flexed by placing a bolster under the anterior abdominal wall. In Figure B, the side-lying client’s low back is laterally flexed by placing a bolster under the lateral abdominal wall. In Figure C, the side-lying client’s low back is laterally flexed by dropping the lower extremity off the side of the table.

Permission Joseph E. Muscolino. Manual Therapy for the Low Back and Pelvis – A Clinical Orthopedic Approach (2013).
This is the 3rd of 13 articles on Deep Pressure Massage for the Low Back.
The thirteen articles are:
- Introduction to Deep Pressure Massage to the Low Back
- Deep Pressure Massage to the Low Back – Choosing the Right Table
- Deep Pressure Massage to the Low Back – Overview
- Deep Pressure Massage to the Low Back – Client and Therapist Positioning
- Deep Pressure Massage to the Low Back – Positioning the Feet
- Deep Pressure Massage to the Low Back – Choosing the Treatment Contact
- Deep Pressure Massage to the Low Back – Support Your Treatment Contact
- Deep Pressure Massage to the Low Back – Use Stacked Joints
- Deep Pressure Massage to the Low Back – Apply Pressure Perpendicularly
- Deep Pressure Massage to the Low Back – Use Body Weight
- Deep Pressure Massage to the Low Back – Tissue Tension Barrier
- Deep Pressure Massage to the Low Back – Deep Strokes
- Deep Pressure Massage to the Low Back – Forward Head Posture
(Click here for the blog post: Neck Deep Pressure Massage: Step by Step – Use Your Core.)